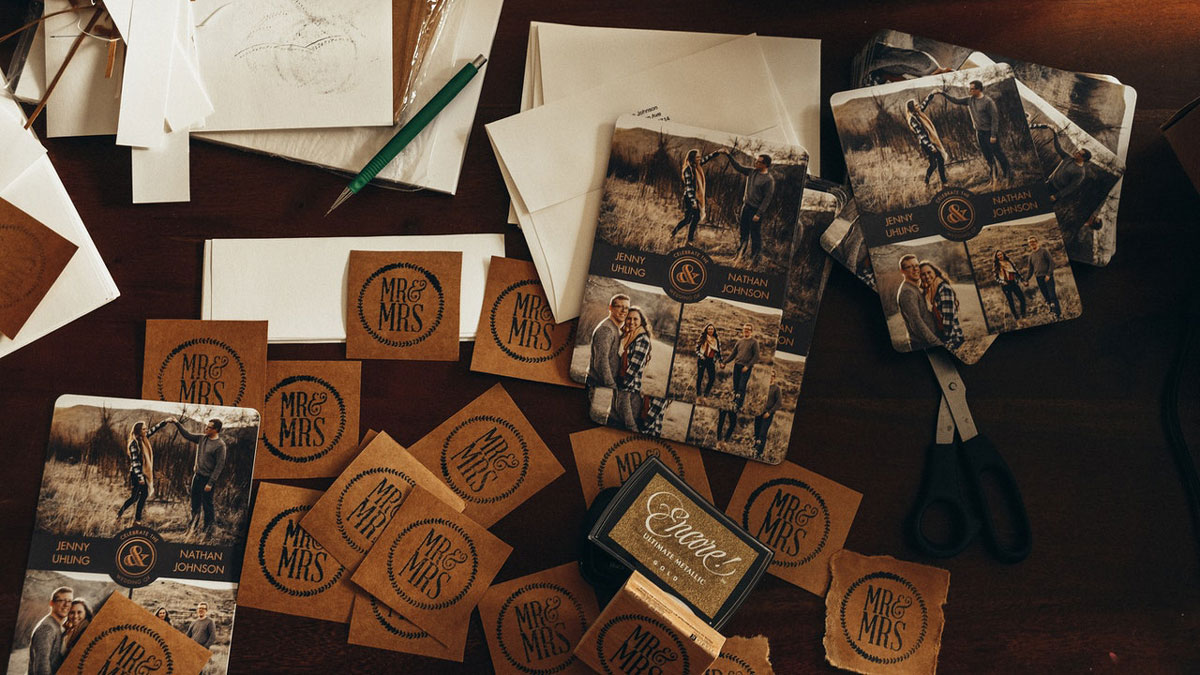
Wedding stationery is incredibly costly, so you may be wondering how to do wedding invitations yourself.
Most couples spend well over $250 on their invitation suite. Frankly, this isn’t necessary with such a variety of free invitation templates and beginner-friendly design software.
Of course, making invitations yourself involves more than designing them. You should also pick the correct format, wording, the paper type and print them.
Perhaps, printing the invitations at home is the most complicated part. The general recommendation is to invest in professional printing and high-quality paper whenever possible.
Doing wedding invitations yourself isn’t foolproof, but it’s an excellent way to save money, unleash your creativity, and make the stationery feel more personal.
Table of Contents [show]
Come Up with the Design
The first step in DIY wedding invitations is choosing the design. You can make a custom wedding invitation design in various software, including Adobe Photoshop and Canva. Consider your design skills when choosing the app.
Some apps offer a wide selection of free backgrounds, elements, fonts, and frames to create unique wedding invitations in no time.
Your wedding invitations should align with your event theme, giving the guests a hint on what to expect. Therefore, consider your wedding color scheme and style to pick the best suitable design.
Incorporate distinct colors and design elements from your wedding venue and bridal attire into the stationery.
For example, if you have a beach wedding and an orchid bridal bouquet, choose a sand and waves background with watercolor orchid elements for the invitations.
Stick with two to four colors. Combine bright hues with pastels, darks, or neutrals. You can use the color wheel to match colors or draw inspiration from online wedding color scheme guides or social media.
Consider Templates
Designing wedding invitations yourself isn’t as simple as it seems if you don’t have experience. You should match shapes and colors, create an appealing layout, and ensure the design aligns with your wedding theme.
Wedding invitation templates are here to save the day. They ensure your invitations comply with design best practices while saving you time and money.
Wedding invitation templates are truly foolproof – find one you prefer, download it in high resolution, customize it, and print it. Most invitations only let you edit basic information such as names, the date, time, and location.
However, there are also highly customizable invitation templates, allowing you to change the colors, fonts, and element placement. That’s still easier than making invitations from scratch.
Many templates are free; others are available for a small fee incomparable to the cost of custom invitations designed for your couple.
Of course, ready-made templates don’t feel as personal, but it’s a simple, time-effective, and cheap solution for couples who want to make invitations themselves.
The Font
Typography is a science. You should match the fonts to your invitation style, ensure they are readable, go well together, and position the words according to design rules.
The biggest mistake of couples choosing DIY wedding invitations is focusing on the shapes and colors while neglecting fonts. However, fonts play a vital role in creating the impression and delivering your message.
Start by researching typeface styles and determining your favorite. Serif fonts, such as Times New Roman, have small projections that finish off letterform strokes, known as serifs.
In contrast, sans-serif fonts don’t have these small lines and therefore tend to be better comprehensible. The most popular sans serif fonts are Arial and Calibri.
Script fonts mimic the look of handwriting or calligraphy. They are highly decorative and not always clearly readable, but it depends. Display fonts are the most creative and rarely used for large blocks of text but are ideal for headings.
These are only the basics. Each typeface category comes in numerous styles – for instance, serif fonts divide into old-style, neoclassical, slab, glyphic, and more.
As a rule of thumb, you can use any font for the inner envelope and the invitation card but only sans-serif on the outer envelope for readability.
You can safely mix and match fonts from the same family but with different weights, sizes, spacing, and colors. Alternatively, combine fonts from different families but with similar characteristics.
The Wording
Designing wedding invitations is only part of the problem. You should also know how to word wedding invitations properly. They should be polite and informative, without any fluff.
Consider your wedding style. For a formal affair, choose traditional wording. For a casual wedding, you may unleash your creativity and be more personal.
A standard wedding invitation wording template includes the couple’s names, a request to come to the wedding, the date and time, location, basic reception information, and the dress code.
Additionally, a traditional invitation includes a separate RSVP card, often with preprinted response card.
The best practice is to use your full names with last names. You can ditch the titles, but don’t use nicknames. Traditionally, the bride’s name follows the groom’s name, or the names go in alphabetical order.
The request to attend can be worded differently depending on your preference and event formality.
For example, you may write something along the lines of “would love for you to join them at their marriage celebration” or “kindly request you to attend their wedding.”
Keep the location, date, time, and other information clear and concise. Avoid vague wording. The RSVP card may include a request to confirm attendance, disclose food allergies and dietary restrictions, and select preferred meals.
The Size
The standard wedding invitation format is 5×7 inches, like a letter. It gives you enough space to fit all the necessary information but ensures you won’t have to spend extra on postage unless the invitations weigh over an ounce.
However, some couples choose creative formats such as square, elongated, or heart-shaped. The choice is entirely up to you as long as you can find a suitable envelope and don’t mind paying extra for postage.
The Paper
Even a simple design can shine with correctly chosen paper, and cheap office paper can ruin the best design. In other words, don’t spare on your wedding invitation paper.
Ideally, print your invitations on thick paper weighing at least 250 grams or 13 points. It will give your invitations a luxurious, substantial feel and ensure they won’t get damaged during mailing.
You can opt for standard white matte paper or designer options with unusual textures, for instance, linen-like or metallic. Such paper can be found in print shops, hobby stores, or online.
If you’re ready to spend extra, consider cotton fiber or wood-grain paper. Such options are perfect for rustic and eco-friendly weddings because they give off a rough, natural feel.
Note that not all paper types are suitable for home printers. Ideally, you should print your invitations at a professional print shop. If you want to print them at home, make sure your printer can handle thick card paper.
Printing the Invitations
The printing technique can significantly affect your invitation look. Flat printing is the most popular and cost-effective wedding invitation printing technique and the only one available for home printing.
The ink is printed directly on the paper’s surface. This technique is perfect for invitations with lots of different colors and works well on any paper.
Flat printing isn’t suitable for metallic elements. If your invitations have metallic letters or ornaments, you’ll need to use foil stamping, which is on the costlier end.
White ink printing is a type of flat printing, but white color isn’t available in most home printers.
It requires special professional printers and therefore is more expensive. White ink really pops on darker colors, adding sophistication to the design.
Thermography gives the invitations texture, raising the letters and design elements above the surface. It looks impeccably stylish combined with flat printing but is expensive.
Letterpress or engraving is essentially the opposite of thermography. This technique leaves an indentation on the surface. Sometimes, the technique is combined with foil stamping.
If you are ready to pay for professional printing, you don’t need to worry about anything – simply bring the invitation design file in the required format. Generally, PDF files are the best for printing.
On the other hand, if you want to print the invitations yourself, you will need to create a grid to save paper and minimize cutting.
Carefully position your invitations side by side, leaving about 10% of the paper border empty. Be prepared to make multiple tests until you get the printer setting right. Note that home printers don’t work great with color-heavy designs.
Cut your wedding invitations using a ruler and a sharp paper knife rather than scissors for more accurate results.
Creative DIY Invitations
Creative DIY wedding invitations are a perfect way to express your personality. Some of the best wedding invitation decoration ideas include three-dimensional stickers, fabric elements, ribbons, pearls, beads, and pressed flowers.
You may make fancy borders using a stamp cutter, burn the corners for a retro look, gild the edges, or write the invitations manually with a calligraphy pen. The options are endless as long as you’re ready to invest the time.


No Comments Add one
Leave a Comment