A typical wedding stationery suite includes at least five pieces, so many couples are confused about how to stuff wedding invitations correctly.
Who would have thought that stuffing several cards into an envelope could be so complicated and overwhelming?
The good news is that assembling wedding invitations is more straightforward than it may seem from the beginning.
Wedding invitation assembly and addressing can actually be fun and exciting. Put on your favorite playlist, grab some wine or tea, gather with your partner at the table, and get to work.
Of course, you should be familiar with the wedding invitation assembly guidelines and etiquette for your and your guests’ convenience. However, don’t be afraid do to something wrong – these are only paper cards, after all.
Table of Contents [show]
Traditional Wedding Invitation Content
How to assemble wedding invitations depends on the envelope’s content. The traditional wedding invitation suite contains the main invitation card, an RSVP response card in a separate stamped envelope, an inner envelope, and an outer envelope.
The invitation suite often contains various enclosure cards, including directions card, reception card, map, or accommodation and transportation information. However, couples preferring minimalism can ditch everything but invitation cards.
The truth is that everything apart from the invitation cards is optional, although RSVP response cards and two envelopes are expected in formal invites.
The couple can collect the RSVP online, and the information on the inner envelope can be stated on the main invites.
In other words, there’s no universal answer to what a wedding invitation suite includes – you can customize the content to your liking.
How To Stuff Invitations Without an RSVP
Nowadays, many couples refrain from separate RSVP response cards in their wedding invitation suites. Some consider using so much paper wasteful and harmful to the environment; others prefer digital RSVP collection methods.
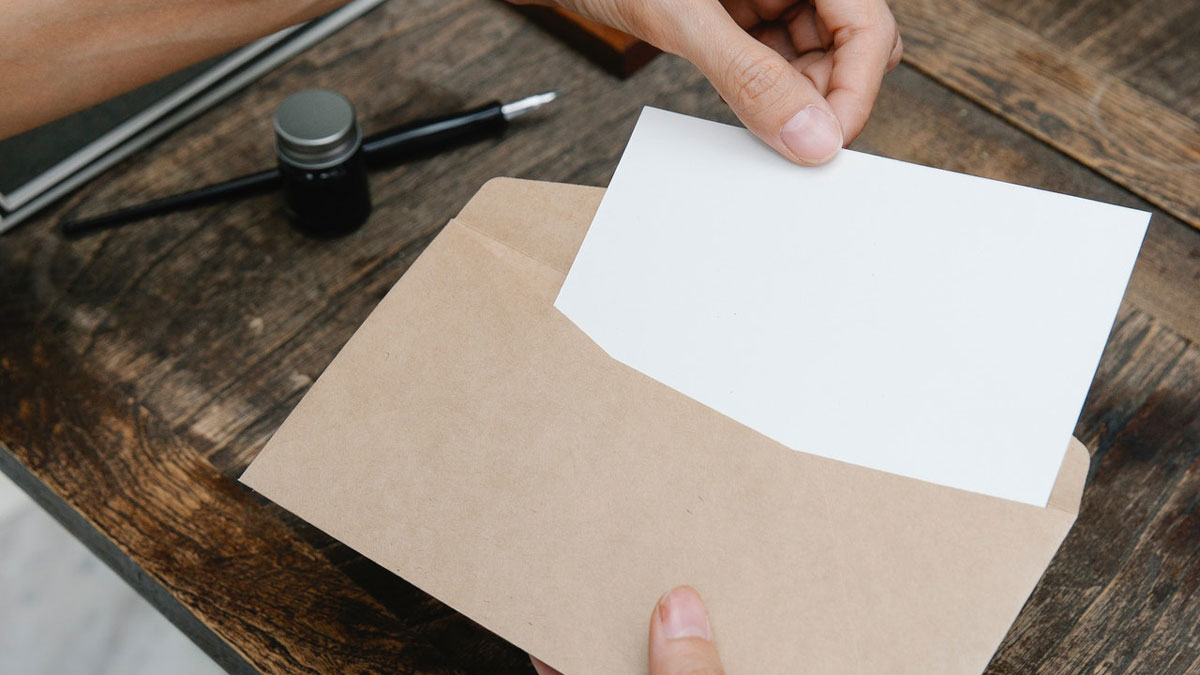
Either way, stuffing wedding invitations without an RSVP is simple. Start by inserting the main invitation card into an envelope.
The invitations should always be placed face up. Such a position is necessary so that your guests see the print as soon as they open the envelope.
Remember that the text should always face the envelope’s flap. Otherwise, your guests would have to turn each card to read it, which is inconvenient and annoying.
Then, add a sheet of tissue paper on top for handwritten invitations. Tissue paper isn’t necessary for decoration – its purpose is to prevent ink from smearing and avoid invitation damage from moisture.
Next, put the reception card with the printed side up on the invitation card. If necessary, add another layer of tissue paper and place any additional enclosure cards on top of the reception card, always face up.
Note that these directions only apply to one-sided invitation cards.
If you have flap-style invitation cards, insert the reception and enclosure cards inside the invitation card rather than on top of it. Remember to position them with the printed side up.
One may say that such a wedding invitation assembly order is counterintuitive because the guests will first see enclosure cards when they open the envelope. That’s a valid argument, but the cards are typically organized by size.
The invitation card is usually the largest, and enclosure cards are either smaller or sized equally. If any of the enclosure cards are larger, you can change the order and place the invitation card on top.
Suppose you have one-sided invitation cards and enclosure cards but flat reception cards. In this case, you may insert all enclosure cards into the reception card, place it on the bottom, and put the invitation on top.
How To Stuff Invitations With an RSVP
Stuffing wedding invitations with an RSVP is slightly more complicated than without one. The general order is the same – you should begin with the main invitation card or the largest card in the stationery suite, always placing it printed side up.
Then, place the optional tissue paper on top of the invitation card and add the reception card, also facing the recipient. Next, insert any additional enclosure cards, such as the venue map. You may change the order depending on the card size.
If any of the enclosure cards have a larger format than others, you may fold them or adjust the design for flap cards. Then, insert any additional enclosure cards and the reception card inside the flap card, but skip the RSVP.
The RSVP response card goes on top of the other cards unless it’s larger. Note that the wedding invitation etiquette states that the couple must pay for the RSVP postage, so any RSVP must come with a separate stamped and addressed envelope.
Stick the stamp in the upper right corner of the envelope and write your address in its center. You may also write your guest’s address in the upper left corner for returns.
Typically, the envelope goes first with the flap facing the recipient, and the RSVP response card goes on top of it with text up. Don’t insert the RSVP card in the envelope but put it under the flap.
When stuffed properly, the invitation and enclosure card text must be legible when the recipient pulls them out using their right hand. In other words, the card’s top should be on the left and the bottom on the right.
How To Stuff Single Envelope Invitations
Usually, wedding invitations come in two envelopes. Firstly, an inner envelope allows the couple to clarify who’s invited and, by omission, who isn’t. Without an inner envelope, the couple must list the names on the outer envelope or the invitation card.
Secondly, two envelopes offer better protection to the wedding invitation suite pieces, preventing damage in transit. Lastly, two envelopes are a more traditional, formal option.
However, many modern couples skip the inner envelope. After all, the fewer trees suffer for your wedding, the better, and you can invest the saved money into something more useful.
The question is – how to stuff single envelope wedding invitations? Are there any special rules? In short, no.
Simply follow the wedding invitation stuffing guidelines, seal the envelope properly, and write the recipient’s address in its center.
How To Stuff Double Envelope Invitations
Double envelope wedding invitations are a traditional choice, and a postal requirement for any invites with decorated inner envelopes.
For example, if your inner envelopes have ribbons, flowers, and other three-dimensional details, outer envelopes are mandatory.
Stuffing double envelope wedding invitations isn’t much different from single envelope invites.
Start by inserting the main invitation card into the inner envelope with text facing you. Then, add the reception card on top of it, face up.
Continue by adding any enclosure cards, always with text facing you. The order of enclosure cards doesn’t matter since they’re all equally important. Next, put the RSVP card envelope on top of your enclosure cards.
Place the RSVP response card on top of the envelope but under the flap. Now that all the inner envelope contents are assembled, carefully insert the inner envelope inside the outer envelope.
The inner envelope’s flap should be on the same side as the outer envelope’s flap. You don’t need to seal the inner envelope, just like the RSVP response card envelope. Only seal the outer envelope.
Note that you may need an outer envelope slightly larger than the inner one because so many pieces will make the invitations thick.
Optional Add-Ons
The wedding invitation suite content entirely depends on your preference. Some couples decide to personalize their invites with add-ons such as small flat souvenirs, ribbons, fancy belly bands, and various small enclosures.
Small cards and souvenirs always go on top of the entire invitation suite to ensure the guests notice them. Otherwise, they may be left in the envelope.
A belly band is the most common invitation suite add-on, which serves the practical purpose of keeping the cards together and adds a finishing visual touch.
If you want to use a belly band, lay it flat over the stacked cards and center it.
Then, wrap the belly band’s ends around the invitation suite, flip the stack over, and carefully seal the band. Flip the stack again so that the RSVP response card is on the top and insert it into the envelope with text facing you.
Some couples bring the invitation game to the next level and add vellum jackets with wax seals to their stationery order. It’s an excellent replacement for the inner envelope.
Start by folding one of the vellum jacket’s sides along the pre-scored line and inserting your stacked invitation suite in it, facing you. Then, fold the right side, and sick the wax seal on the center to seal the vellum jacket.
Another way to hold the invitation suite pieces together is by tying a ribbon around them. The instructions are simple – wrap the ribbon around the cards and tie a knot on top of the RSVP response cards, facing you.
Envelope liners are an excellent way to customize your invites, protect the cards, and add an element of mystery, hiding the text from the recipient until they remove the cards.
Envelope liners usually go inside the inner envelope. Start by placing the liner in the envelope with tape strips facing the envelope’s flap. Then, peel off the adhesive backing and press the envelope firmly. All envelope contents go under the liner.


No Comments Add one
Leave a Comment