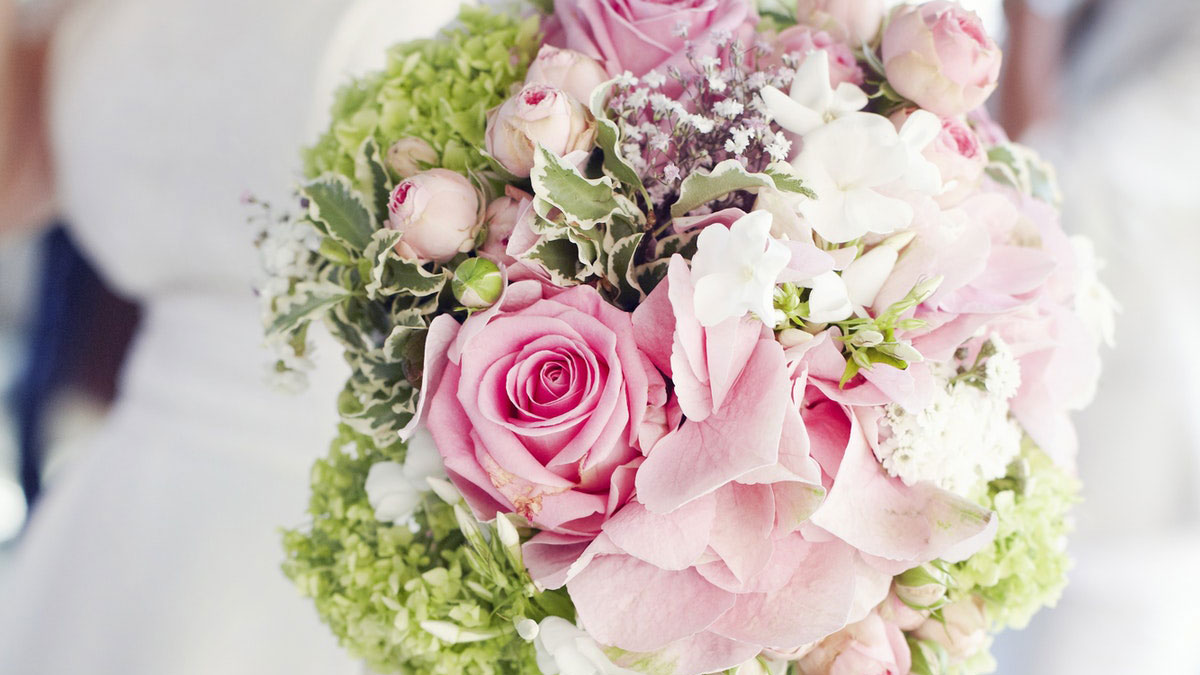
If your budget is tight, you may be wondering how to make a winter wedding bouquet at home.
Professional bridal bouquets tend to be expensive, and DIY wedding floral arrangements are a great way to cut costs.
Such a DIY project allows you to get creative and crafty, investing thought, love, and personality apart from money into your bridal bouquet.
Thankfully, making a bridal bouquet yourself is easier than cooking for the reception or sewing the wedding dress. However, you should strictly follow certain rules to preserve the flowers fresh.
If making a wedding bouquet yourself sounds intimidating, remember that you don’t have to create an intricate arrangement – small and simple wedding bouquets can be equally gorgeous.
Table of Contents [show]
Choose The Flowers
The first stage in creating any wedding bouquet is choosing the flowers. Although many flower varieties are available year-round, using seasonal winter blooms is beneficial for multiple reasons.
Firstly, seasonal flowers tend to be cheaper because they don’t have to be brought from the other side of the globe. Secondly, they typically look fresher and last longer than out-of-season blooms. Lastly, they better fit the unique aesthetics of the season.
Some of the most popular seasonal winter wedding flowers are anemones, sweet peas, camellias, carnations, ranunculus, roses, hellebores, gardenias, and winter jasmine. Consider amaryllis, protea, orchids, calla lilies, and anthurium if you admire exotic blooms.
Many wedding bouquets also feature filler flowers – these are typically cost-effective varieties that don’t steal attention from the focal flowers but add volume and dimension to the arrangement.
For a DIY winter wedding bouquet, consider baby’s breath, waxflowers, bells of Ireland, Queen Anne’s lace, and heather.
Note that bridal bouquets can consist not only of flowers. Hypericum and viburnum berries, pinecones, evergreen branches, fern leaves, palm leaves, pampas grass, ivy, and even feathers make excellent wedding bouquet accents.
Consider your personality, wedding style, and location when choosing your wedding flowers. For example, exotic blooms best fit tropical, traditional, and alternative wedding styles, whereas wildflowers are perfect for rustic weddings.
Your wedding bouquet doesn’t have to be big and elaborate to be beautiful. You can only use one flower variety if you prefer minimalism or are tight on budget. Most importantly, choose the flowers you truly like.
Come Up With Design
Deciding on your wedding bouquet design in advance is vital because the arrangement has to be assembled in a specific order. You may create a schematic drawing to remember the flower placement.
Let your fantasy flow – there’s no wrong or right when it comes to the look of your wedding bouquet. It can be small and simple or intricate, perfectly symmetric or asymmetric, monochromatic or colorful.
Consider cascading wedding bouquets if you admire everything unusual – such arrangements typically have greens or long-stemmed flowers draping down the front like a waterfall. Ivy, orchids, and trailing jasmine are some examples of plants suitable for a cascading bouquet.
Large, intricate asymmetric or crescent bouquets are also trendy. However, petite nosegay and single-stem bouquets are always a good idea – they are chic and easy to make.
The bouquet colors should match your wedding theme. Most seasonal winter flowers come in numerous shades, so you can mix and match them to create unique arrangements.
If you don’t have experience with color combinations, use the color wheel or search for winter wedding bouquet inspiration online.
Gather Supplies
Once you’ve come up with the bouquet design, it’s time to gather the necessary supplies. You’ll need multiple buckets of water (one for each flower type), pair of sharp floral snips for trimming, flower food, shears, and rubber bands or floral wire.
Gardening gloves are optional – they can be handy if you work with roses. You’ll also need floral tape and a ribbon of your choice to tie the stems.
Shopping for flowers at a local floral store is better than online because you can see the flowers and pick the freshest blooms.
Choose blooms that aren’t yet fully open because they will last longer. You can always put your flowers in warm water if you want the petals to open.
Prepare The Flowers
Before you start assembling your bouquet, the flowers require preparation. Whether you’ve bought the flowers at a local floral store or ordered them online, preparation is vital to keeping them fresh and hydrated throughout the day.
When your flowers arrive, cut the stems diagonally using shears and place them in a bucket with cool water and flower food. Remove any foliage falling below the water level using floral snips to prevent bacteria growth.
The best practice is to make your bouquet on the wedding morning, but you’ll likely be very busy, so you can make it on the wedding eve. Don’t make your bouquet earlier because it will start withering.
Before assembling your bouquet, remove excess greenery from the stems to achieve the desired look. You may also carefully remove dry petals. Always keep different flower types separately while they await assembling.
Assemble The Bouquet
Now, to the most exciting yet complicated part – assembling the bouquet. Here, your design notes will be handy. Start by creating the bouquet base – it usually consists of greenery and voluminous flowers.
Remember to hold the stems halfway down the necessary bouquet length because you will cut them afterward. Don’t hold the bouquet flat on the table because you want it to be full and nice from each side.
A helpful tip is to assemble your bouquet while standing near the mirror – this allows you see how the arrangement looks in your hands.
Next, add focal flowers. These are the stars of your wedding bouquet, the most unusual blooms that draw attention – for example, dahlias, peonies, anemones, or proteas.
Incorporate filler flowers, line blooms, and more greenery into your arrangement to add dimension and volume. Line flowers are typically long-stemmed blooms like delphinium and bells of Ireland that add height to the bouquet.
Place them at a diagonal angle. As the bouquet grows, you may have to rearrange the first layer of greenery and focal flowers.
Lastly, incorporate any accents into the arrangement, such as Craspedia, feathers, or dried thistle. Depending on your design, you may either place them diagonally along the edge or stick them in between the flowers.
After the bouquet is assembled, check it from each side for gaps and insert greenery or filler flowers where needed. You may want to add more greenery around the outside of your arrangement to hide the stems.
Note that all steps apart from adding the focal flowers are optional. You can refrain from greenery and filler flowers if you prefer minimalism. If you only use one flower type in the bouquet, you can move on right to the next step.
Wrap The Stems
Tie the stems with floral wire or rubber bands when you’re satisfied with your DIY wedding bouquet appearance. Depending on your desired bouquet length, you may cover 1-4 inches of the stems.
Wrap the stems with a satin, velvet, or lace ribbon of your choice to hide the floral tape or rubber bands and add an elegant touch to the bouquet. Secure the ribbon ends with pins or tie them in a bow.
A tightly wrapped ribbon has a clean, classic look, whereas a bow tie with cascading ends will suit a relaxed bohemian or whimsical style.
Alternatively, you may use decorative floral tape that doesn’t need to be hidden. In this case, start by tying the stems with a rubber band to keep them in place and then wrap them with floral tape.
Finishing Touches
Inspect your DIY bridal bouquet from each side and trim any excess leaves or thorns. Cut the stems using shears, leaving about 1-3 inches below the ribbon according to your design.
Optionally, you may spray your bouquet with a special antibacterial spray to prevent withering, ensuring your bouquet remains fresh throughout the long wedding day. You can get this spray at a professional floral store.
If your local florists don’t sell antibacterial sprays, you can use hairspray instead. Make sure to only spray the petals and do it from afar to avoid overcoating the bouquet – you don’t want it to be dry and smell with chemicals.
One of the best wedding bouquet preservation tips is covering the stems with crushed aspirin after cutting. Aspiring contains salicylic acid with antibacterial properties, thus helping to keep your flowers fresh for longer.
Place your flowers in a bucket or vase with about 1-2 inches of water, but note that the water temperature matters. As a rule of thumb, use room temperature water or slightly cooler, depending on the flower type and state.
If your flowers are already fully open, use cold water to slow down blooming. On the other hand, if you want to open the blooms before the wedding, place them in warm (not hot!) water for about 10-15 minutes.
You may also add finalizing design touches at this stage – for example, spray the flowers with glitter or add a jeweled brooch to the ribbon.


No Comments Add one
Leave a Comment